Interior painting hacks matter more in Gresham, OR than in drier climates, because damp winters and older Craftsman walls expose every shortcut. A rushed roller job shows every flaw once gray daylight hits it straight on. The hacks below come from crews who repaint Gresham homes through every season and know exactly where the shortcuts fail.
These tips come from JMZ Painting Services crews who have repainted interiors across Gresham, Fairview, and Troutdale for years. Humidity-related lap marks and tape bleed are the two callback requests we see most often once winter sets in.
Prep Your Space Before You Paint
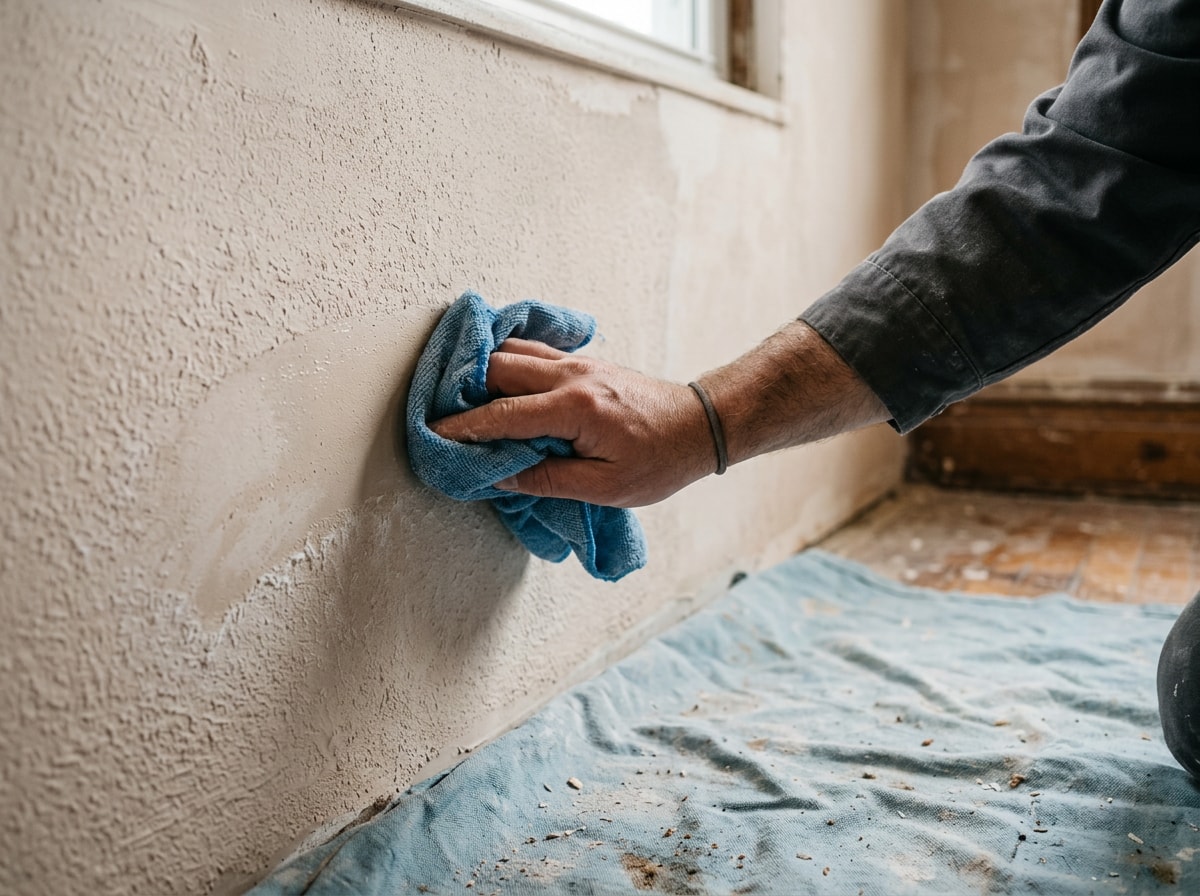
Clean walls first. Grease and condensation build up fast in Gresham's humid months, so kitchen and bathroom walls need a degreasing cleaner before anything else touches them.
A few prep steps save hours of redo work later:
- Wipe dust off every other wall with a damp cloth.
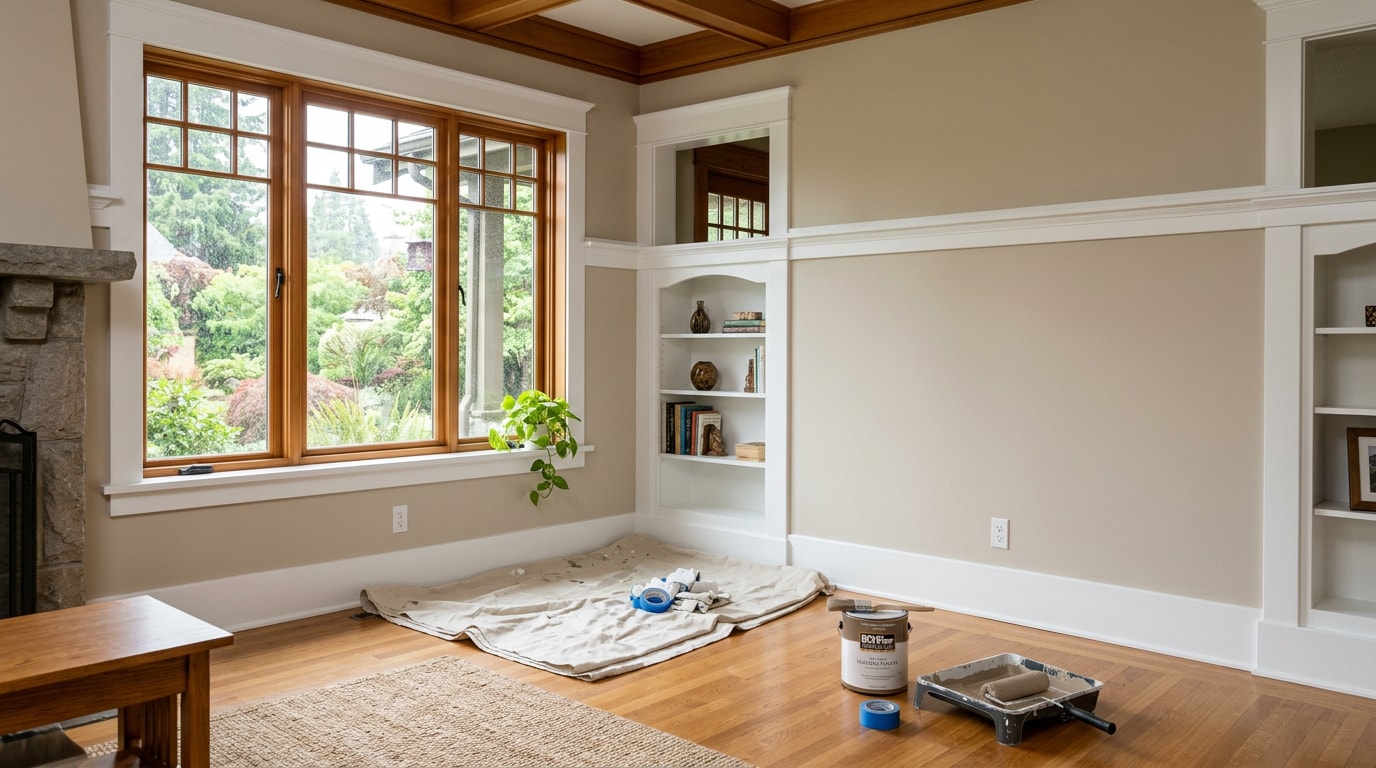
- Cover floors and furniture before you open a can. Drop cloths cost far less than refinishing a floor.
- Patch nail holes and dings, then let the filler dry fully.
- Sand patched spots smooth before priming.
Skipping this step is the biggest reason paint peels or looks patchy later. If interior painting prep feels like more than you want to tackle solo, our interior painting services team can handle it start to finish. You can see the rest of what we offer from the homepage too.
Pick Tools and Sheen for Gresham's Climate
The right tools matter more than raw talent. A 3/8-inch roller nap handles most smooth interior walls, while a thicker 1/2-inch to 3/4-inch nap works better on Gresham's common knockdown and orange-peel textured drywall.
Sheen choice affects how well a wall shrugs off moisture and scuffing:
| Room | Best Sheen | Why |
|---|---|---|
| Bathrooms | Satin or semi-gloss | Resists moisture, wipes clean |
| Kitchens | Satin or semi-gloss | Handles grease and steam |
| Bedrooms, living rooms | Eggshell | Soft look, easy touch-ups |
| Trim and doors | Semi-gloss | Durable, highlights detail |
| Ceilings | Flat | Hides surface imperfections |
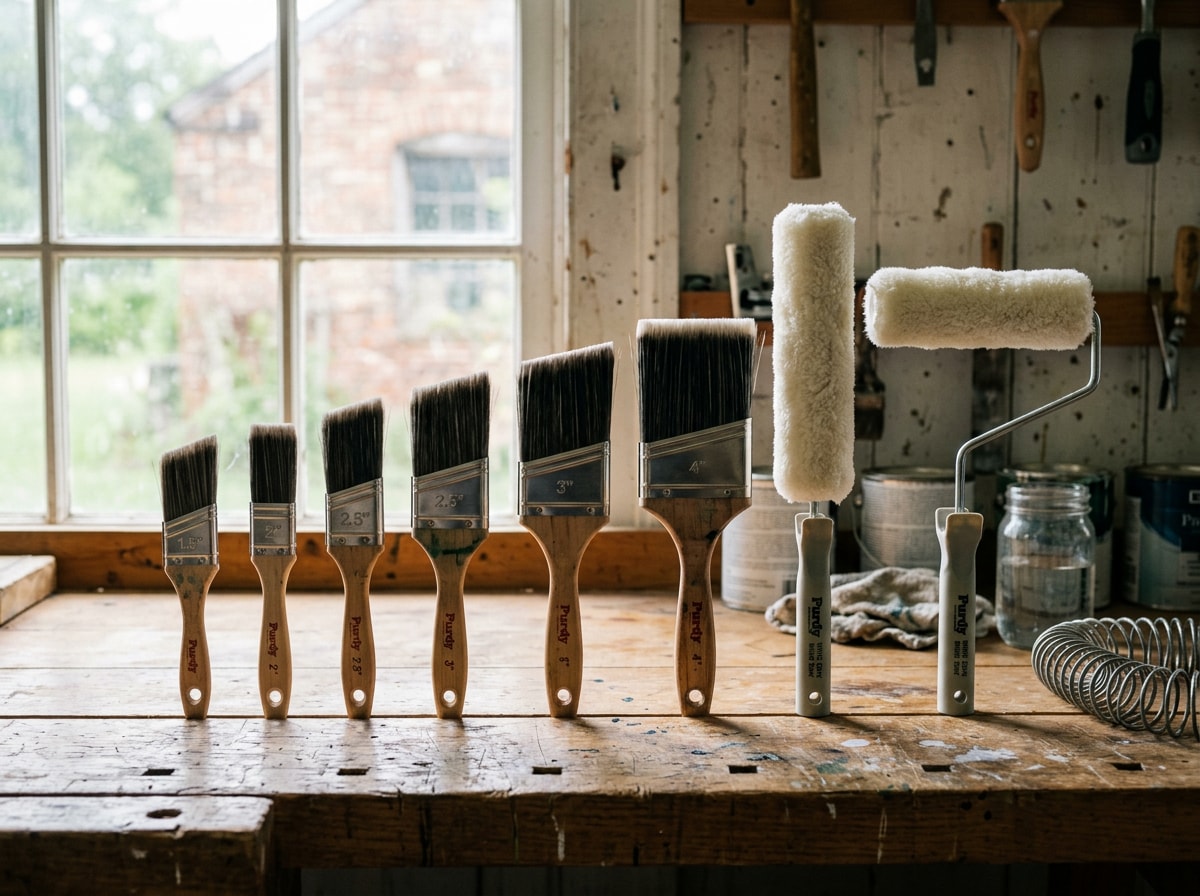
A quality angled brush for cut-ins and a reusable microfiber roller sleeve cost more upfront than foam versions but outlast them across several rooms. For a deeper breakdown of sheen and finish by surface, Benjamin Moore's paint finish guide is worth a look. If you're still deciding on equipment, our guide on choosing the right house painting brush covers bristle types in more detail.
Don't Skip (and Tint) Your Primer
Primer isn't optional, even though it's tempting to skip when you're in a hurry. It evens out porous drywall, blocks stains, and helps topcoats cover in fewer passes, especially over dark colors.
Not all primers work the same way:
- Water-based primer dries fast and suits new drywall common in newer Gresham subdivisions.
- Oil-based primer handles older Craftsman trim, where decades of varnish or oil paint need a compatible base.
- Stain-blocking primer is the right call for water stains, smoke residue, or nicotine marks, common in older rentals and resale homes around town.
Tinting your primer close to your topcoat color cuts the number of finish coats you need, especially over bold or dark existing paint.
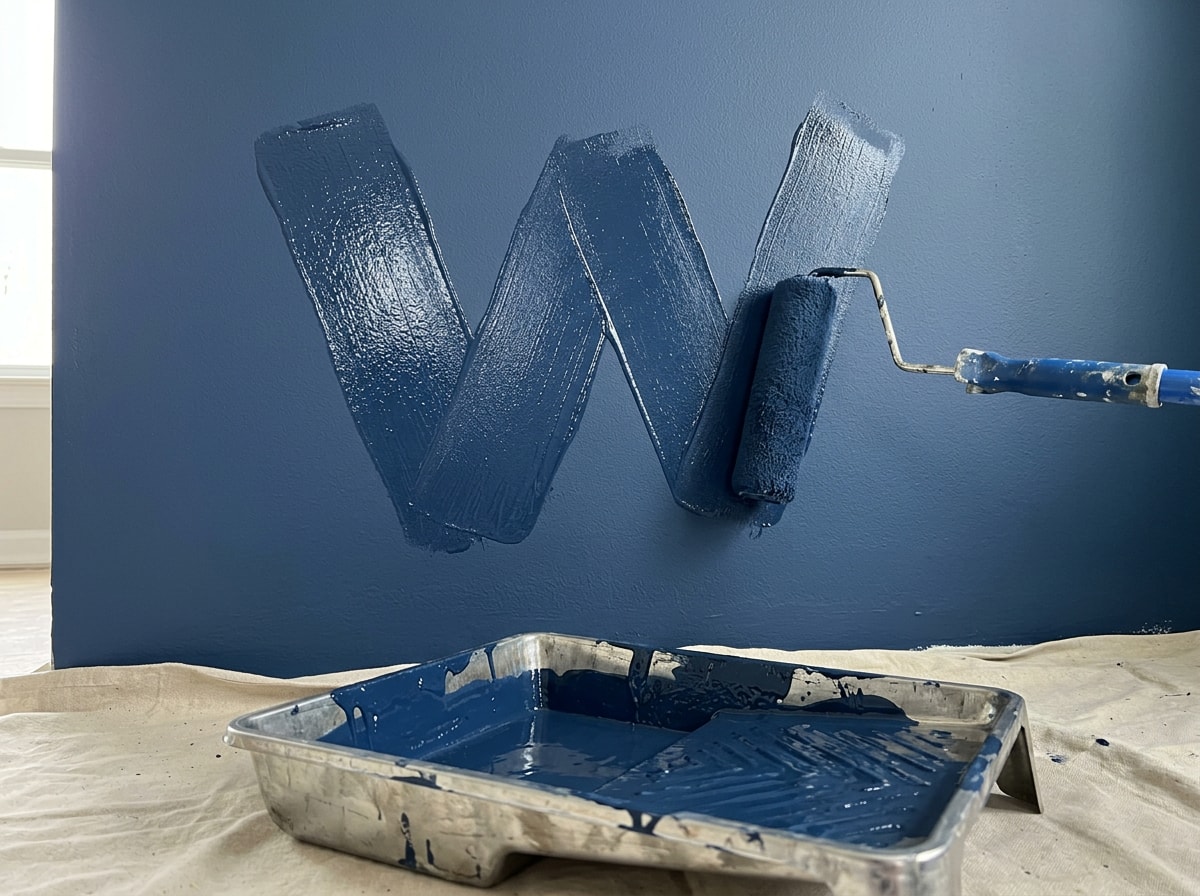
Cut In First, Then Master the "W" Roll
Cut in edges and corners first with an angled brush or an edger tool. Work a few inches out from trim and ceiling lines. This gives you a clean border before the roller ever touches the wall.
Once the edges are cut in, load your roller and apply paint in a loose "W" or "M" pattern across a roughly 3-foot section. Fill in without lifting the roller. This pattern spreads paint evenly and helps you avoid the ridged roller marks that show up under Gresham's overcast daylight.
Keep a Wet Edge to Avoid Streaks
Stopping mid-wall to answer the phone is how lap marks happen. Once paint starts to tack up, any new paint overlapping it dries at a different rate and leaves a visible line.
Work in manageable sections. Move from wet paint into dry paint, and keep a wet edge the whole time you're on a wall. It's one of the simplest ways to get streak-free walls without extra product or tools.
Seal Painter's Tape to Stop Bleed-Through
Press painter's tape down firmly with a putty knife or old credit card before you start rolling. This seals the edge so paint can't creep underneath, which matters on textured Gresham walls where tape doesn't always sit flush.
Pull the tape while the paint is still slightly wet, not after it fully cures. Removing it too late can tear dried paint along with the tape. Done right, this sequence gives you clean lines and prevents bleed on trim, baseboards, and ceiling edges. Our Gresham, OR service area page has more local project examples if you want to see finished results.
Sand Between Coats for a Flawless Finish
Light sanding between coats knocks down drips, brush marks, and dust nibs before the next layer goes on. Fine-grit sandpaper, around 220-grit, is gentle enough not to gouge the previous coat. A sanding pole extends your reach on stairwells and high walls common in older Gresham two-stories.
If your home was built before 1978, proceed carefully. Sanding old paint can release lead dust. Review the EPA's Lead Renovation, Repair and Painting Rule before sanding painted surfaces in a pre-1978 home.
Small Hacks to Keep Your Workspace Clean
A few small habits save real cleanup time:
- Rubber band trick: Stretch a rubber band across the open paint can, top to bottom, and wipe your brush against it instead of the rim. The can stays clean and easier to reseal.
- Tray liner trick: Line your paint tray with foil or a plastic grocery bag before pouring paint in. Toss the liner when you're done and the tray stays spotless.
- Short-break trick: Wrap brushes and rollers in plastic wrap or a zip-top bag if you're pausing overnight between coats. No need to wash them out for a short break.
Speed Up Dry Time and Clear the Air
Point a box fan at freshly painted walls, angled to pull air across the surface rather than straight at it. This speeds up drying and shortens the wait before a second coat. Paint-and-primer-in-one formulas also trim typical recoat time, which helps on tight renovation schedules.
Ventilation matters for more than dry time. The EPA recommends running fans and opening windows continuously from the start of painting until two to three days after it's finished to clear VOCs from the air. Review the EPA's guidance on indoor air quality during remodeling if you're painting multiple rooms back to back, especially with windows closed against Gresham's winter chill.
Clean Up and Store Your Tools the Right Way
For longer storage, clean paint brushes with warm water and a small splash of fabric softener, which softens dried paint and restores bristle shape. Store rollers standing on end so they keep their shape instead of flattening on one side.
Keeping tools in good condition means fewer streaks next time you paint.
Still want a second opinion on your project? Request a free estimate and we'll walk through the details with you.
FAQ
What tools do I need for faster interior painting?
Wide rollers, extension poles, edger tools, quality painter's tape, and microfiber sleeves make up a solid set of equipment that speeds up most DIY jobs without sacrificing finish quality.
How can I prevent paint from bleeding under tape?
Use tape made for delicate or textured surfaces, press it down firmly with a putty knife, and pull it while the paint is still slightly wet rather than fully dry for the cleanest line.
How long does paint need to dry between coats?
Latex paint typically needs about four hours before recoating, while oil-based paint can take 24 hours or more. Check the can's label, and use fans or open windows to speed things up.
How many coats of paint do I need?
Most walls need two coats for even coverage. A third coat may be necessary when painting a dark wall a lighter color or covering heavily textured surfaces.
How do I reduce paint odor while painting indoors?
Open windows and run fans continuously during painting and for two to three days afterward. Low-VOC paint also cuts down on odor and off-gassing in closed-up winter homes.
What roller nap should I use for Gresham's textured walls?
Use a 1/2-inch to 3/4-inch nap on knockdown or orange-peel texture, common in older Gresham homes. Save the 3/8-inch nap for smooth, Level 5 drywall.